This is a quick tutorial on Spring 3 MVC Validation. You will need Eclipse and m2e to follow the steps below.
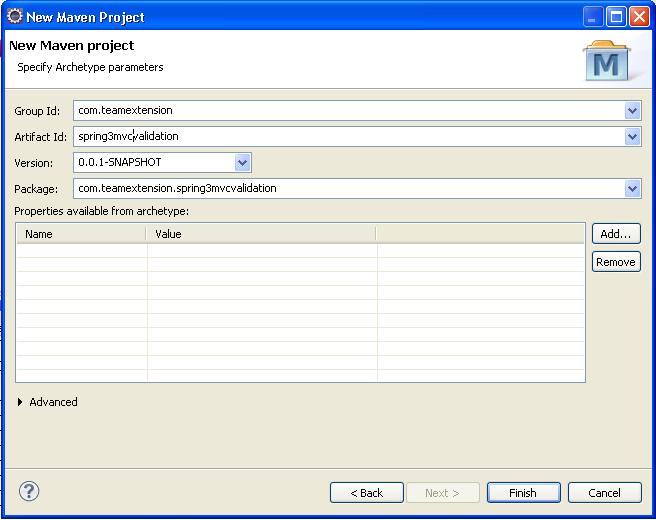
1. Create a new Maven Project using the Eclipse New Wizard. When prompted for the archetype, pick the spring-mvc-jpa-archetype. This will give us a running Spring MVC web application.

2. Enter com.teamextension for the groupId. Enter spring3mvcvalidation for the artifactId. Enter com.teamextension.spring3mvcvalidation for the package. Hit Finish.
3. Create Account.java
This will the model or form data class.
package com.teamextension.spring3mvcvalidation;

import javax.validation.constraints.NotNull;
import javax.validation.constraints.Size;

public class Account {

	@NotNull
	@Size(min = 6)
	private String username;

	public String getUsername() {
		return username;
	}

	public void setUsername(String username) {
		this.username = username;
	}
}
4. Update HomeController.java
package com.teamextension.spring3mvcvalidation;

import javax.validation.Valid;

import org.springframework.stereotype.Controller;
import org.springframework.ui.Model;
import org.springframework.validation.BindingResult;
import org.springframework.web.bind.annotation.RequestMapping;
import org.springframework.web.bind.annotation.RequestMethod;

@Controller
public class HomeController {

	@RequestMapping(value = "/", method = RequestMethod.GET)
	public String home(Model model) {
		model.addAttribute("account", new Account());
		return "home";
	}

	@RequestMapping(value = "/", method = RequestMethod.POST)
	public String submit(@Valid Account account, BindingResult result) {
		return "home";
	}
}
We modified home method with an “account” attribute. This will be the initial display of our form. submit method process a post request, since we annotated it with @Valid. If the user inputs an empty or less than 6 character string, an error message will be displayed in our jsp.
5. Update home.jsp.
<%@ taglib uri="http://java.sun.com/jsp/jstl/core" prefix="c" %>
<%@ taglib prefix="form" uri="http://www.springframework.org/tags/form" %>
<%@ page session="false" %>
<html>
<head>
	<title>Home</title>
</head>
<body>
<form:form method="post" commandName="account">
	<label for="username">Username: </label>
	<form:input id="username" path="username" />
	<form:errors path="username" />
	<br/>
	<input type="submit" value="submit" />
</form:form>
</body>
</html>
6. Execute the project with Jetty. Right click project, choose Run As, then Maven build …, check Skip Tests and put this in Goals: install jetty:run. Click Run.

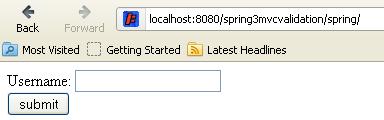
7. Open a browser and go to http://localhost:8080/spring3mvcvalidation/spring/. Click submit with an empty username.
This will display this error.

Submit less than 6 characters, and this will be the error.

8. You can create a custom validator class and register through @InitBinder.
Refer to Configuring a Validator for use by Spring MVC
You now have a simple Spring 3 MVC web application using JSR-303 Bean Validation.
For more information: